Startup script

P2P Cloud allows clients to configure their server instance by injecting custom scripts that will be initialized once the server boots after encrypting.

Things To Know

The script will be executed only once on the first boot of the VM. It will be run as the root user from the “/” directory. Remember, by default you will SSH into the VM as the cloud user.

We also recommend either creating a new user or use the built-in user cloud and navigating to its home directory.

Example

1
2
3
4
5
6
7
8
#!/bin/bash
  
USER_HOME=/home/cloud

# Change the current working directory to the user's home directory
cd $USER_HOME

# ...

When you get directed to the WebSSH page for your VM, the script might still be running. Be aware of this when interacting with the VM, especially if you expect the script to complete its tasks.

Upon boot, the user-startup script will be placed in the following path:

1
/opt/p2pcloud/user_startup.sh

Script Log

The output of the script will be logged to the following file:

1
/opt/p2pcloud/user_startup.log

You can check this log file to monitor the progress and troubleshoot any issues with the script.

1
cat /opt/p2pcloud/user_startup.log

How to Insert Script

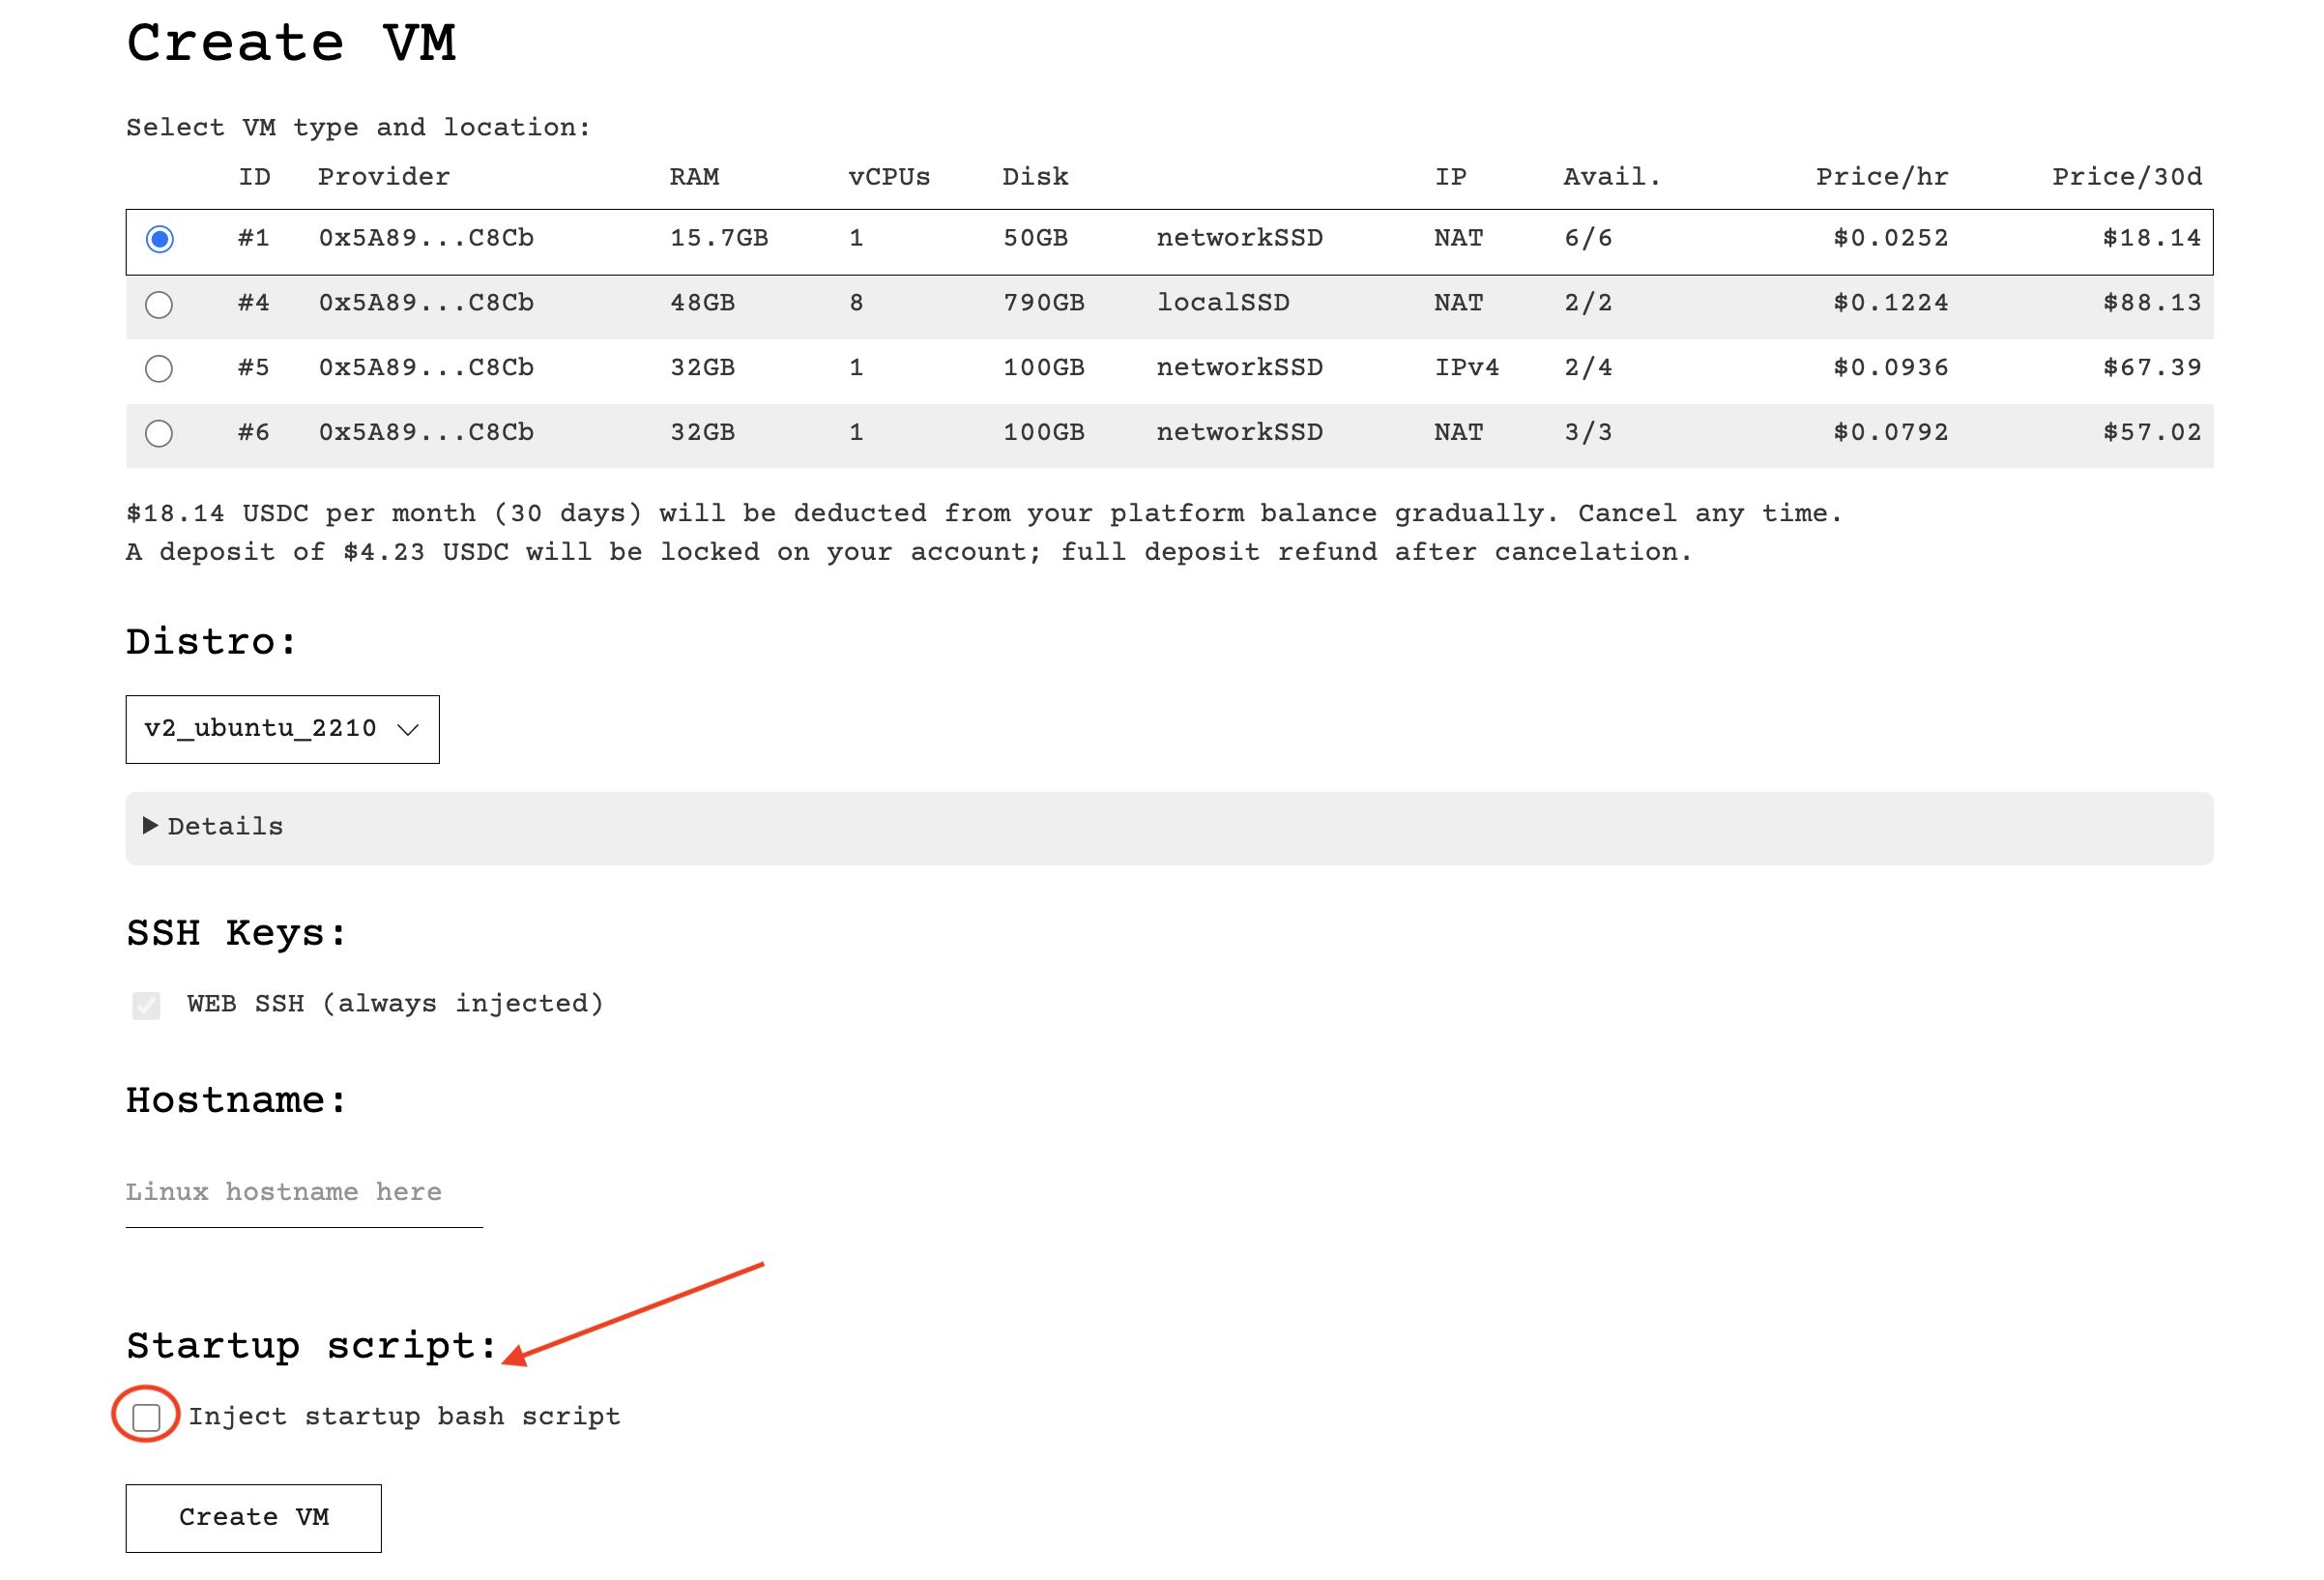
Inserting a script is easy. All you need to do is click on the Inject startup bash script box and paste the bash script in the text box(see below).

Note: Be sure to delete the placeholder contents in the box before entering in custom script
script-pic

Once you’re done, click on Create VM and launch your server.

Example Script

Here is an example script that installs Auto-GPT on the default cloud profile and it’s dependencies on the VM:

 1
 2
 3
 4
 5
 6
 7
 8
 9
10
11
12
13
14
15
16
17
18
19
20
21
22
23
24
25
26
27
28
29
30
31
32
33
34
35
36
37
38
39
40
41
42
43
44
45
46
47
48
49
50
51
52
53
54
55
56
57
58
59
60
#!/bin/bash
  
# Change the current working directory to the user's home directory
USER_HOME=/home/cloud
cd $USER_HOME
  
# Update and upgrade server
sudo apt update
sudo apt upgrade -y

# Install ufw and allow SSH connections
sudo apt install ufw -y
sudo ufw allow ssh
 
# Install python3 and pip
sudo apt install apt-utils -y
sudo apt install python3 -y
sudo apt install python3-pip -y
sudo apt install python3.10-venv

# Install Git
sudo apt install git -y

# Clone Auto-GPT repository
git clone https://github.com/Torantulino/Auto-GPT.git 

# Change account privilege 
sudo chown -R cloud:cloud ./Auto-GPT/

# Add a 3-minute delay before running the next command
sleep 180

cd Auto-GPT
python -m venv venvAutoGPT
source venvAutoGPT/bin/activate
pip3 install --upgrade pip

echo '#!/bin/bash

# Prompt user for environment variables
echo "Please enter your Pinecone API key:"
read PINECONE_API_KEY
echo "Please enter your Pinecone environment:"
read PINECONE_ENV
echo "Please enter your OpenAI API key:"
read OPENAI_API_KEY

# Create .env file with user input and default values
echo "PINECONE_API_KEY=$PINECONE_API_KEY
PINECONE_ENV=$PINECONE_ENV
OPENAI_API_KEY=$OPENAI_API_KEY
ELEVENLABS_API_KEY=your-elevenlabs-api-key
SMART_LLM_MODEL=\"gpt-4\"
FAST_LLM_MODEL=\"gpt-3.5-turbo\"
GOOGLE_API_KEY=
CUSTOM_SEARCH_ENGINE_ID=
USE_AZURE=False
# OPENAI_API_BASE=
# OPENAI_API_VERSION=
OPENAI_DEPLOYMENT_ID=deployment-id-for-azure" > .env' > setup_env.sh

After boot, wait 1-3min, navigate to the Auto-GPT directory, and enter in your OpenAI(required), and Pinecone(optional) by running:

Note: Change repo branch from Main -> Staging

1
bash setup_env.sh

Run the app:

1
./run.sh 

For additional setup instructions, see the official Auto-GPT docs

Click here to learn how P2P Cloud is secure compared to other providers such as Golem Network. To learn more about P2P Cloud, visit our website, follow us on Twitter, or join our Telegram community.